Welcome screen
Your first screen after sign-up, and the four ways to get started.
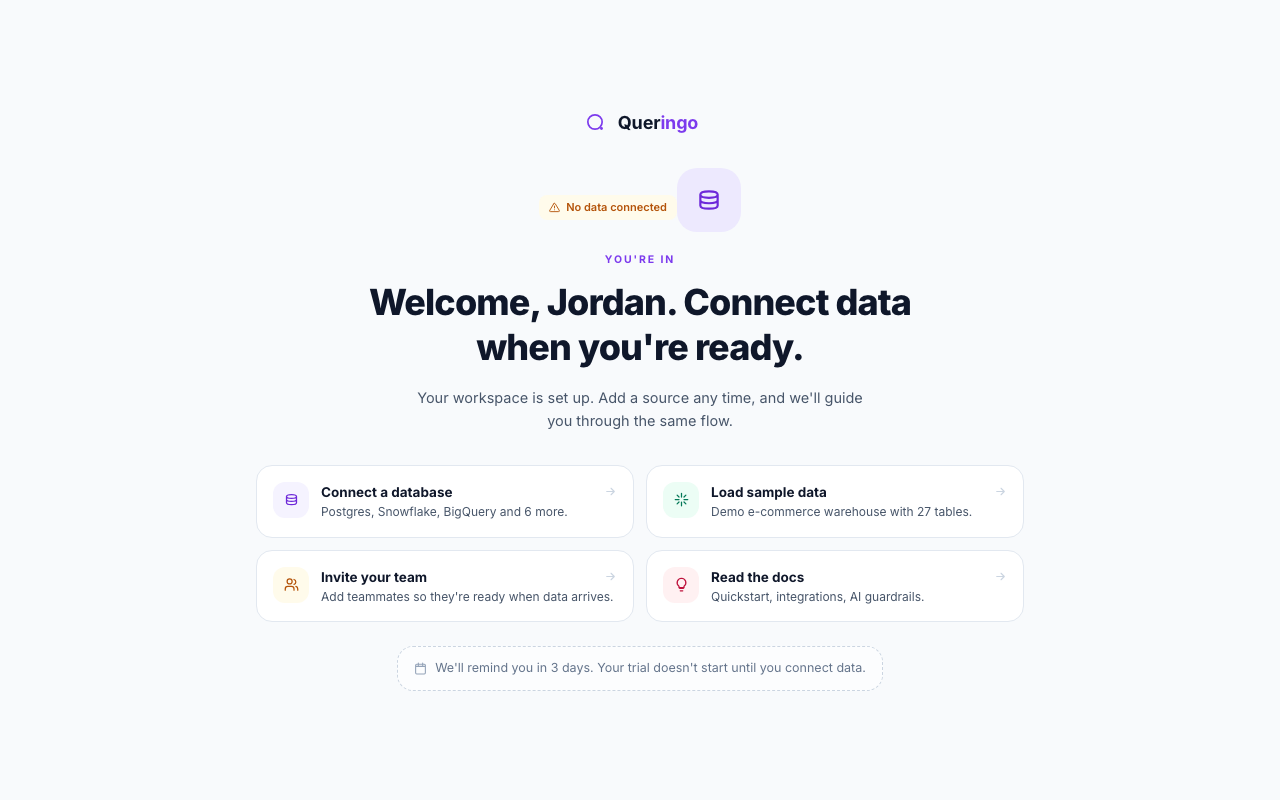
Right after you create an account, Queringo confirms your workspace is set up and offers four ways to get going. Nothing here is permanent, so pick whatever fits and change course later.
Your options
- Connect a database
Wire up Postgres, Snowflake, BigQuery, or one of the other supported sources. This starts the connect flow.
- Load sample data
Loads a demo e-commerce warehouse so you can try Queringo immediately with no setup. You can switch to your own database any time.
- Invite your team
Add teammates now so they are ready when your data is connected. See Invite your team.
- Read the docs
Opens this documentation, including the quickstart and integration guides.
Your trial does not start until you connect real data, so exploring the sample warehouse first costs you nothing.
What's next
Most people pick Connect a database or Load sample data. Continue with Connect a data source.