Connect a data source
The general flow for adding any source, and what each authentication style needs.
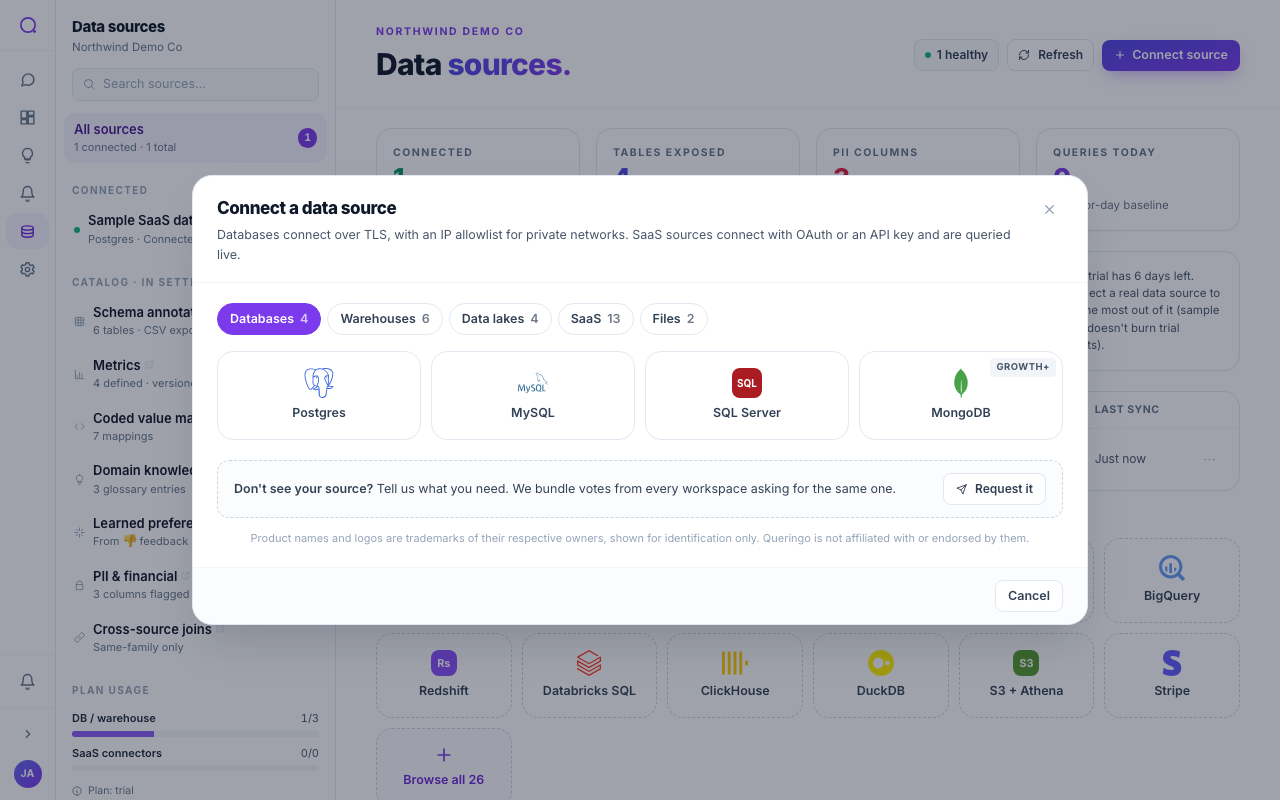
This is the general walkthrough for adding any source from inside the app. The exact fields depend on the connector, but the flow is the same: pick a connector, authenticate, test, and let Queringo discover the schema.
Steps
- Open Data sources and choose Connect source
In the app, go to Data sources and select Connect source. The picker groups connectors by category and shows the plan each one needs.
- Pick a connector
Choose your source. Browse by category tab, or use the search box at the top of the picker to find a connector by name across every category. The form adapts to that connector's authentication style.
- Authenticate
Fill in the fields for your auth style (see below), or complete the OAuth handshake for connectors that use it.
- Test the connection
Queringo verifies it can reach and authenticate against the source before saving anything.
- Discover the schema
On success, Queringo persists the source and discovers its schema, flagging and masking PII by default. Review what to expose, then finish.
- Optionally turn on deep analysis
For SaaS sources, the final step offers to turn on deep analysis, which keeps a securely encrypted copy so complex questions answer faster. It is off by default and you can turn it on later from the source. See Deep analysis.
Authentication styles
| Style | What you provide | Examples |
|---|---|---|
| Credentials | Host, port, database, user, password | Postgres, MySQL, SQL Server, Snowflake, Redshift, ClickHouse |
| Key file | A service-account JSON key | BigQuery |
| Token | An API key or access token | Stripe, Shopify, Databricks SQL |
| OAuth | Authorize Queringo via the provider | Salesforce, HubSpot, GA4, QuickBooks, Google Sheets |
| Upload | A file you upload | CSV, Excel |
For databases and warehouses, always connect with a least-privilege, read-only account. Queringo never needs write access.
Private networks
If a source has no public endpoint, connect over an SSH tunnel or VPC peering. See SSH tunnels & VPC peering.
What's next
After connecting, learn how to keep sources healthy in Managing sources.