GA4
Connect GA4 to Queringo. Setup, fields, testing, editing, and alternatives.
Web and product analytics from Google Analytics 4.
At a glance
| Category | SaaS |
| Auth | OAuth |
| Plan | Growth and above |
Setup
- Open Connect source
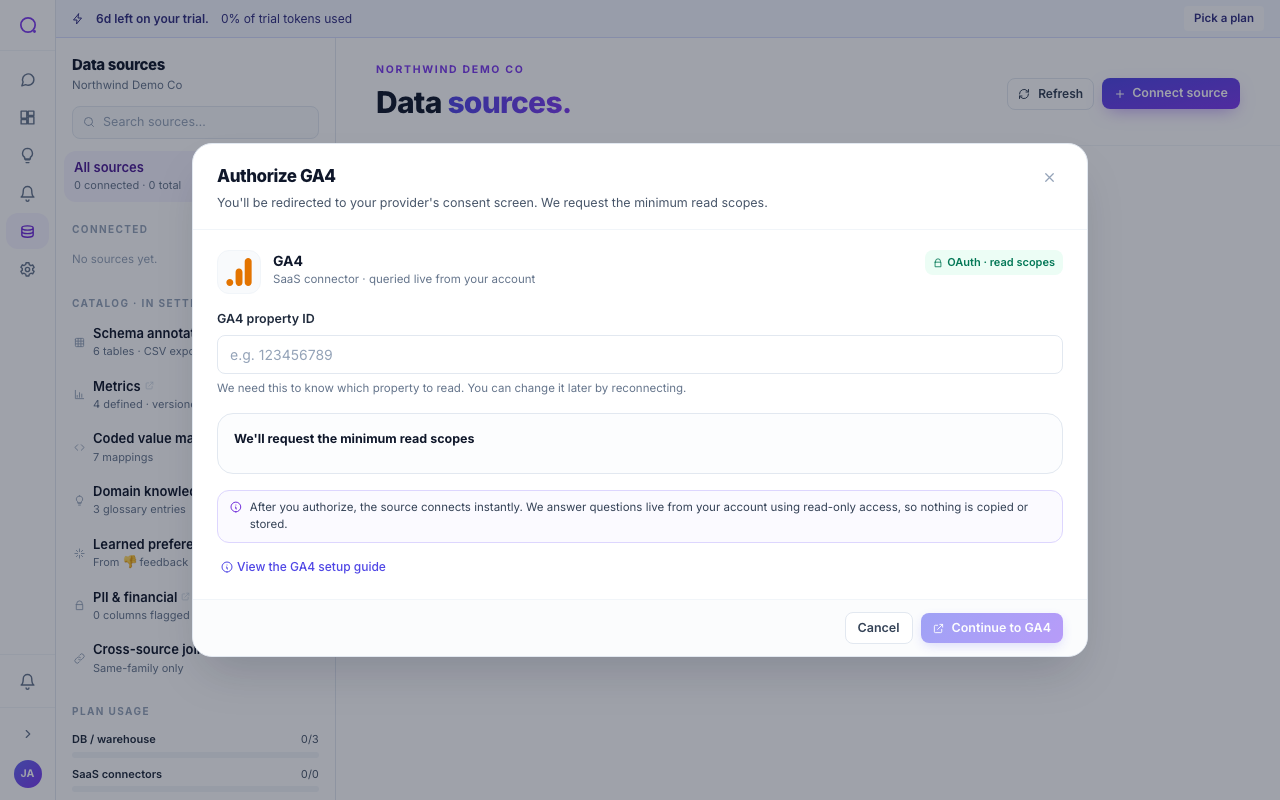
In the app, go to Data sources and choose Connect source. Open the SaaS tab and select GA4.
- Authorize Queringo
Choose Continue with GA4 and complete the provider's consent screen. Queringo requests the minimum read scopes; no keys to copy.
- Save the connection
Queringo tests the connection before saving, then discovers the schema. PII is flagged and masked by default during discovery.
What happens during sign-in
- Choose Continue with Google in the connection form.
- Sign in with a Google account that has Viewer access (or higher) on the GA4 property.
- Approve the read-only Analytics scopes. Queringo never modifies your property.
- Pick the GA4 property to expose when prompted.
Test the connection
Queringo runs a connection test as part of saving. If it fails, the error message indicates what to check (credentials, network reachability, or scope). From Data sources, you can re-run Test connection on the source row any time, for example after rotating a secret or changing network rules.
Edit or rotate
To swap the authorizing account, disconnect and re-add the source. Revoke access on the GA4 provider any time to stop the connection. See Rotating credentials for the general flow, and Disconnecting a source to remove it.
Reference
Suggest a different connector
Don't see what you need? In the Connect a data source picker, choose Request it. Queringo bundles votes from every workspace asking for the same one and prioritizes accordingly.
Related connectors
What's next
For the category overview and shared options, see SaaS. To keep sources healthy, see Managing sources.